Best Warrior build in Path of Exile 2
Totem? I barely know 'em!
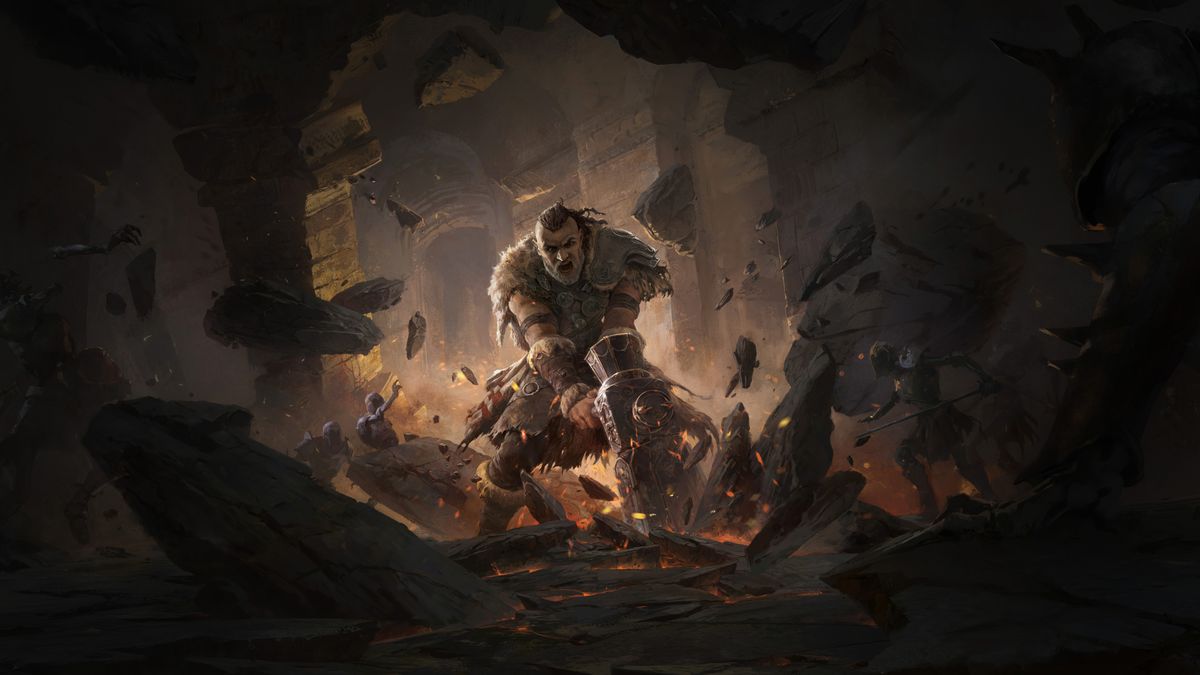
Finding the best warrior build in Path of Exile 2's early access is a bit like finding the best dentist to give you a root canal. Like, there's technically a right answer, but it's still gonna be painful and probably cost too much currency. Warriors are in a bit of a sad state, but we're gonna take our best shot.
Thankfully, one of the best build makers from Path of Exile 1 is here to help us out. Palsteron has an incredible pedigree as a build maker, especially for totems, and he came up with something that's actually pretty great.
The build revolves around Ancestral Warrior Totem, using Sunder as the attacking skill. Dual wielding two-handed maces with the keystone Giant's Blood lets us get a staggering +14 to melee skills, which double dips—boosting both the totem skill and the Sunder gem for huge multiplicative damage. Combined with a +3 amulet, +2 on gloves, and a Prism of Belief jewel we can actually hit the hardcap of a level 40 skill gem.
Normally, this would be totally impossible to pay for, but we use the Titan's Hulking Form Ascendancy and couple of notables on the tree to convert 51% of the mana cost to health, and use an Inspiration support gem for 40% less cost. Combined with some health and mana regen, we now have gigantic Sunder totems that destroy the whole screen and turn pinnacle bosses into a fine paste.
The thing I like best about the build, though, is the use of weapon swap. Path of Exile 2's weapon set skill points let customize up to 24 points on your passive tree to be active with one set of weapons or another, but almost no one uses it. Palsteron has made incredible use of it here, because our totems snapshot. So we can drop them down, shift to one-hander and shield for increased survivability and mobility, and still do full damage.
Path of Exile 2 Sorceress build: Making magic
Path of Exile 2 Monk build: Flow like water
Path of Exile 2 Mercenary build: Hail of bolts
Path of Exile 2 Witch build: Summoned army
Sunder Totem Warrior
If you want all the juicy details you can head over to his Maxroll guide or check out the video above. Otherwise stay tuned, and I'll break everything down for you below.
One important note before you begin—this is not a leveling build! This build has a bunch of funky interactions that make it basically unfeasible to level with. You can level with Sunder as a lot of the passive tree will translate, but if you really want to gas things up (and you have a little bit of currency), do what everyone else is doing right now and level with Pillar of the Caged God.
It's an incredible leveling strat that, until they nerf it, is just the best way to get a character to maps right now. I got my warrior to endgame in roughly 11 hours this way, and made the swap at level 63.
Key skills
Ancestral Warrior Totem and Sunder form the backbone of the build, and we'll actually use two separate setups for them. One for maximum screen clear and one for boss killing:
Ancestral Warrior Totem (clear)
- Sunder: Slams the ground, creating a rolling fissure that damages enemies in a sequence of areas in front of you
- Martial Tempo: Supported skills have 25% more attack speed
- Upheaval: Supported skills create two additional fissures, but have 20% less attack speed and 40% less damage
- Inspiration: Supported skills have 40% less cost
- Magnified Effect: Supported skills have 40% more area of effect
Our base damage from all of our + skills gear is absolutely galactic, so here we focus our gems on maximizing coverage and being able to pay for it. Upheaval and Magnified Effect make these things absolutely huge, and if you follow the gearing guide correctly it basically one shots everything, including most rares, even without damage supports.
Ancestral Warrior Totem (bosses)
- Sunder: Slams the ground, creating a rolling fissure that damages enemies in a sequence of areas in front of you
- Concentrated Effect: Supported skills deal 40% more area damage, have 50% less area of effect
- Brutality: Supported skills deal 35% more physical damage, but deal no chaos or elemental damage
- Heavy Swing: Supported skills deal 35% more melee physical damage, have 10% less attack speed
- Bloodlust: Supported skills deal 30% more melee physical damage against bleeding enemies
Here we stack our damaging support gems as high as they'll go, maximizing damage for burly bosses. Since we're only dropping one set of these (and then mashing our flasks), the cost doesn't matter as much. If you can't afford to 6-link both setups, definitely leave off Bloodlust. We get bleed from a Lacerate support on our Armour Breaker, and it's not required.
Armour Breaker
- Demolisher: Supported skills break 40% more armour
- Break Posture: Supported skills apply daze when fully breaking armour, daze lasts for 6 seconds
- Lacerate: Supported skills have 50% chance to inflict bleeding
- Rage: Supported skills grant 3 rage on melee hit
Armour Breaker is the missing piece that makes our boss-killer setup truly disgusting. Sunder has a clause that says "consumes fully broken armour on enemies to guarantee a critical hit," which we facilitate with Armour Breaker. After dropping your boss totems and an Orb of Storms, you'll swap to a fast one-hander, spam this skill to both daze and break the armour of the boss, and watch them get absolutely deleted—usually before they even attack you.
Break their armour with this, trigger a daze, the Sunder consumes the armour break, which lets you break their armour again, rinse and repeat. This interaction is one of the reasons Sunder wins out over Shockwave Totem for me, and is absolutely ridiculous against bosses.
Orb of Storms
- Persistence: Supported skills have 40% more skill effect duration
- Font of Blood: Supported skills create a font of blood, granting 2% life regeneration per second to you and your allies
- Font of Rage: Supported skills create a font of rage, granting 2 rage regeneration per second to you and your allies
- Font of Mana: Supported skills create a font of mana, granting 40% increased mana regeneration rate to you and your allies
We use Orb of Storms primarily on bosses, and it's kind of just quality of life. Standing near the orb will grant us increased rage, life, and mana regeneration in case the boss doesn't die in one round.
Grim Feast
- Clarity: 30% increased mana regeneration rate while supported skill is active
- Precision: 30% increased accuracy rating while supported skill is active
- Vitality: Regenerate 1% of life per second while supported skill is active
Because armour is bordering on useless at this point in the game (balance patch when?), we use energy shield as our primary defensive layer instead. Between Atziri's Disdain and a big ES body armour, we're able to stack it up over 4,000 with this build using the Hulking Form multiplication for small nodes. Grim Feast lets us double that up, giving us a crazy high EHP pool.
Time of Need
- Fast Forward: Supported skills have 30% less skill effect duration
Time of Need is our other defensive aura, periodically healing us while removing curses and elemental ailments. This provides us with some nice quality of life, sometimes bails us out of freezes or other things that might kill us, and exactly fits our spirit without having to get any on gear. Fast Forward reduces the timer between castings.
Shield Charge
- Unbreakable: 200% more stun threshold while using supported skills
- Maim: Supported attacks always maim on hit
- Stomping Ground: Deals 80% to 120% of your strength as physical damage in a shockwave
Shield Charge is our primary travel skill, usable because of our cheeky weapon swap. Combine this with a Crest of Ardura (you can get one with max cooldown reduction super cheap) and you can traverse great distances super quickly.
Blink
- Ingenuity: Supported skills have 30% increased cooldown recovery rate
- Arcane Tempo: Supported skills have 25% more cast speed
How are you supposed to socket Blink when you've spent all your Spirit on Grim Feast and Time of Need? Easy… weapon swap! Another great feature of this system is that you can have different skills equipped on each configuration. Just make sure Grim Feast is connected with weapon set 1, and Blink is connected with weapon set 2.
You'll want to make sure the rest of your skills are allocated to the right weapon sets, too. Both of your totem setups, Grim Feast, Orb of Storms, and Time of Need will all be 'Used with weapon set 1' (click the little arrow next to the damage on your skills sheet). Weapon set 1 will be your double two-handers for max damage.
Weapon set 2 will be your one-hander and shield. You'll connect Armour Breaker, Shield Charge, Blink, and Time of Need (we get to double dip with this one) to that weapon set. With your skills set up this way, any time you hit the hotkey for a totem or orb, you'll automatically swap to your damage weapons, and any time you hit a movement skill (or Raise Shield, you'll wanna bind this too) you'll switch to the one hander.
Passive tree
The passive tree has lots of important stuff in it, some of which will totally brick the build if you don't get it right. The full passive tree is here, and below I'll cover some of the most critical stuff.
- Price of Freedom, Blood Rush: Between these notables and the three small life cost nodes near them, we'll convert 51% of the costs of our skills to life instead of mana. Combine this with a Deep Trance anoint on our amulet to make it possible for us to pay for the massive totems.
- Ancestral Artifice, Watchtowers: These are our + to max totems nodes. We cap out at three because we can't use an Idol of Uldurn (+3 to melee skills on amulet is mandatory), but three is plenty to destroy the universe.
- Giant's Blood: The only keystone we use with the build, this is what allows us to dual wield two-handers to get the +14 to skills. It also triples our attribute requirements, which is a huge problem that I'll address in the gear section lowe down.
- Polymathy: This cluster at the bottom of the tree is absolutely critical—we'll need huge strength and intelligence to support our ES body armour and the attribute requirements of our maces.
- Block chance clusters: we make full use of the 24 weapon swap points with this tree. For the most part we take block chance clusters with the swapped points to help our survivability, leaving all our totem damage nodes on the other set.
- You can leave the ES nodes at the top of the tree and the big area cluster at the bottom for last. When I swapped to the build at 63 I didn't take any of these, had +6 maces, and was still one shotting the screen. Once I made the swap I absolutely flew to level 90.
Ascendancy
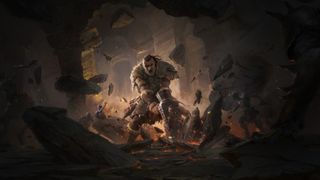
For our Ascendancy, we'll be picking Titan. It might seem counterintuitive not to pick the Ascendancy that says totem on it a buncha times, but Hulking Form is just that good. Spend your first four points getting to it as quickly as possible, and enjoy the extra bag space on the way.
For your third time through the trial, take Crushing Impacts. This will make it substantially easier to stun targets, both turbo-charging our Armour Breaker/Sunder/Armour Breaker boss plan and staggering packs in the wild. Between our totems stunning monsters with physical damage and providing alternate targets for attacks, they act as kind of a virtual defensive layer as well.
Finally, we'll take Earthbreaker. There's a strange interaction with Split the Earth that lets us take advantage of these repeated attacks currently, but there's some chance they'll patch it in the future. If they do, swap to Mysterious Lineage for more life and health regen.
Gear and stat priorities
Skill | Description |
|---|---|
Maces | +7 to level of all melee skills (mandatory, can do +6 for leveling) / strength / stun duration / reduced attribute requirements |
1h Mace | % increased attack speed / + to level of melee skills / strength |
Shield | Crest of Ardura (mapping) / Svalinn (tough stuff) |
Body Armour | 20% increased melee damage, 40% increased melee damage against Heavy Stunned enemies |
Gloves | +2 to level of melee skills / life / mana / % increased attack speed / resistances |
Boots | % increased movement speed / life / mana / resistances / str or int |
Rings | life / mana / accuracy rating / mana regen / resistances / str or int |
Amulet | +3 to level of melee skills / life / mana / mana regen / resistances / str or int / life regen |
Helmet | Atziri's Disdain (regenerate % life per second corruption) |
Belt | life / mana / str / int / resistances / charm slots |
For two-handed maces, there are basically two considerations—getting +7 to melee skills, and being able to equip them. I swapped to this build at level 63 and used +6 maces for a while, which worked great, but getting to +7 is the big game. Giant's Blood triples the attribute requirements, so be careful! You'll need a lot of strength. Getting reduced attribute requirements on the maces is a possibility, but can be quite expensive. Socketing in a soul core of Zantipi to change some of the strength requirements to int also helps, and since the base damage is irrelevant you can use advanced maces instead of expert.
For your one-hander, you just want attack speed and + levels of melee skills. If you have strength on your two-hander, you'll need that here as well so you don't dip below your requirements. Faster attacks means more armour break, and more armour break means more Sunder crits.
For a shield I like Crest of Ardura a lot. The improved cooldown reduction lets us zoom around the map with Shield Charge if we have to backtrack. For spooky fights or things like Simulacrum, you can swap to a Svalinn for survivability. All the block chance nodes we take on the passive tree will offset the reduction, and block chance is lucky is a huge boost to defense.
For body armour, just get a bunch of ES. You'll want a big life roll if you can afford it, and make sure your elemental resistances are maxed. You can get away with ~50% chaos res on this build, but every point helps.
In terms of helmet, Atziri's Disdain is mandatory for this build. It's quite affordable and you should be able to get one with a % life regen roll for a song. To give you some context on how important this piece is, my current build has 5k ES and 2k of that comes from this helmet.
For gloves, make sure you get +2 to melee skills. Beyond that, look for life and mana, resists, or attack speed. Attack speed on your weapons won't be calculated because it's local, but attack speed you get on other pieces of gear or the passive tree helps a lot. The Sunder totems take a long time to wind up their swings, so attack speed becomes a very cozy affix to get.
I run the risk of sounding like a broken record here, but movement speed on boots is probably the most important stat on your whole build. Get life, mana, and resistances, but mostly aim for 35% run speed. If you're broke you can limp by with 25 or 30, but it really does make a huge difference.
Jewelry is where we solve our mana issues. Even though we're spending life for half of our costs, we'll still need a big mana pool to pay for these level 40 totems. Get rings and an amulet with mana and mana regen, and then hit them with neural catalysts to boost both rolls. +3 to melee on your amulet is mandatory, and try to find at least one big accuracy roll here.
Your belt is a great slot to get some strength and intelligence, as the build will require boatloads of both. Try and make sure you get life and mana as well, and if you can secure a 3-charm belt with these mods you'll be living large.
For jewels, you have lots of flexibility. You'll want a Prism of Belief with +1 to Ancestral Warrior Totem, but beyond that you can get rubies with totem damage, placement speed, global phys, attack damage, even weapon swap speed. I grabbed a couple sapphires with 2% mana and 2% life regen on kill, which makes mapping really smooth. You can also get area damage% on those. Check out PoE2DB for the full list of modifiers, and happy hunting!
The biggest gaming news, reviews and hardware deals
Keep up to date with the most important stories and the best deals, as picked by the PC Gamer team.
Russ has been playing PC games since the top of the line graphics were in ASCII and has been obsessed with them just about as long. After a coordinated influence campaign to bamboozle his parents into getting a high speed internet connection to play EverQuest, his fate was well and truly sealed. When he's not writing about videogames, he's teaching karate, cooking an overly complicated dish, or attempting to raise his daughter with a well rounded classical education (Civilization, Doom, and Baldur's Gate, of course). He's probably mapping in Path of Exile right now.
